

Nothing quite captures the sweet anticipation of newlywed life like that first slice into your wedding cake. Yet somehow, this seemingly simple moment can turn into a photographer’s nightmare faster than you can say “buttercream disaster.”
1. Position Your Cake for Perfect Lighting
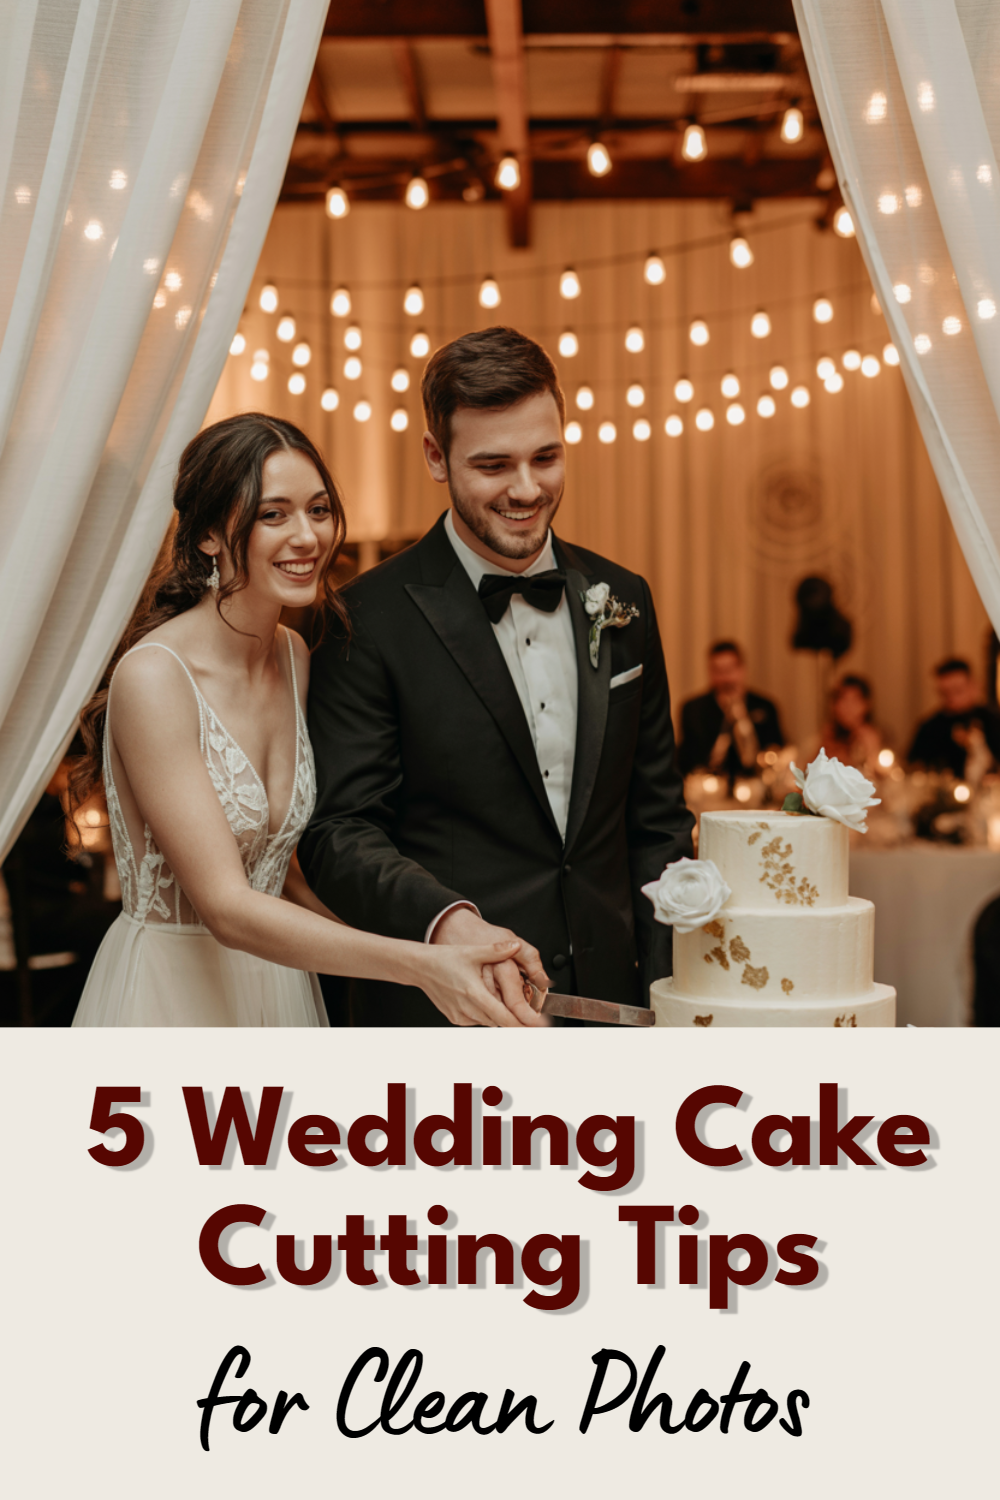
The difference between a magical cake cutting photo and one that looks like it was taken in a dungeon often comes down to lighting placement. Your cake’s position in the venue can make or break those precious shots.
Scout your reception space early and identify where natural light flows best during your planned cake cutting time.
If you’re cutting cake during golden hour, position it near large windows or French doors. The soft, warm light will make your cake look like something straight out of a fairy tale.
Avoid placing your cake directly under harsh overhead lighting or in dark corners where your photographer will struggle. Fluorescent lights are particularly unforgiving and can cast unflattering shadows on both you and your beautiful creation.
Your photographer might need to use flash, which can wash out the delicate details you spent months perfecting.
Working with Venue Lighting
Most reception venues have adjustable lighting options, so don’t be shy about asking your coordinator to dim or brighten certain areas. The goal is soft, even lighting that illuminates your faces without creating dramatic shadows.
If your venue has string lights or chandeliers, these can create lovely ambient lighting for cake cutting photos. Just ensure there’s enough light for your photographer to capture sharp, clear images without graininess.
2. Choose the Right Knife and Serving Tools
Your cake cutting utensils aren’t just functional—they’re props in some of your most treasured wedding photos. The wrong tools can create messy cuts that photograph poorly and leave you with less-than-perfect shots.
Invest in a proper cake server set with a sharp, clean knife specifically designed for cutting cake. Dull knives drag through frosting and create jagged, messy cuts that look unprofessional in photos.
A sharp blade glides through layers cleanly, preserving the cake’s structure and your manicure.
Silver or gold-toned serving sets photograph beautifully and add an elegant touch to your images. Avoid plastic utensils at all costs—they bend under pressure and create uneven cuts that will haunt your photo album forever.
Decorative Details Matter
Consider how your serving set coordinates with your overall wedding aesthetic. Vintage silver pieces work beautifully for classic weddings, while modern geometric designs complement contemporary celebrations.
Some couples choose to use family heirloom serving pieces, which adds sentimental value to the photos. Just ensure any inherited pieces are sharp enough to cut cleanly through your specific cake design and frosting type.
3. Master the Two-Handed Cutting Technique
The classic “hands together on the knife” pose exists for good reason—it creates intimate, romantic photos while ensuring a clean, controlled cut. But there’s definitely a right way and a wrong way to execute this seemingly simple gesture.
Both partners should place their hands on the knife handle, with the person on the right typically guiding from behind. Keep your grip firm but relaxed—white knuckles and tense shoulders photograph poorly.
The goal is to look natural and happy, not like you’re wrestling with a stubborn kitchen utensil.
Cut slowly and deliberately, pressing straight down rather than sawing back and forth.
Sawing motions create messy, uneven cuts and can cause your cake layers to shift or your frosting to smear. One confident, straight cut creates the cleanest slice and the most photogenic result.
Avoiding Common Cutting Mistakes
Don’t try to cut too large a piece on your first slice—a modest wedge is easier to manage and photographs better. Overly ambitious first cuts often result in cake pieces that fall apart or frosting that gets everywhere except where it should be.
Keep your faces close together during the cutting process. This creates intimate, romantic shots and ensures you’re both properly lit and in focus. Leaning away from each other might feel more comfortable, but it doesn’t photograph nearly as well.
4. Plan Your Cake Feeding Moment Carefully
The feeding portion of cake cutting can result in either adorable, romantic photos or images that look like a food fight broke out. A little planning goes a long way toward ensuring you get shots you’ll actually want to display.
Discuss beforehand whether you want to go the sweet, romantic route or embrace some playful messiness. Both can create beautiful photos, but the key is being intentional about your choice. Surprise cake smashing rarely photographs as well as planned, gentle feeding.
If you’re going the romantic route, use small bites and feed each other gently. Keep napkins nearby and maintain eye contact with your partner rather than focusing on the cake. These intimate moments create the most emotionally resonant photographs.
Setting Boundaries for Playfulness
For couples who want some playful cake action, establish ground rules beforehand. A tiny dab of frosting on the nose can be adorable in photos, while full-face cake smashing often results in images that feel more chaotic than joyful.
Consider your makeup, hair, and outfit when deciding how playful to get. If you’ve invested in professional hair and makeup that needs to last through dancing and more photos, gentle feeding is probably your safer bet.
5. Coordinate with Your Photographer’s Timeline
Your photographer needs adequate time to capture multiple angles and moments during your cake cutting, so don’t rush through this important milestone. Building in extra time ensures you get a variety of beautiful shots without feeling pressured.
Alert your photographer a few minutes before you’re ready to cut the cake. This gives them time to position themselves for the best angles and adjust camera settings for your specific lighting conditions.
Surprise cake cutting moments often result in missed shots or poor positioning.
Plan for at least 10-15 minutes of cake cutting photos, including the approach to the cake, the cutting itself, the feeding, and some candid moments afterward. This might seem like a long time, but these photos will be treasured for decades.
Capturing Multiple Angles
Your photographer will likely want to capture wide shots showing the full scene, close-ups of your hands on the knife, and intimate shots of your faces during the feeding. Each of these requires different positioning and lighting considerations.
Don’t be afraid to repeat certain moments if your photographer requests it. A second “first bite” often results in more relaxed, natural expressions since the initial nerves have worn off.
Professional photographers know how to guide you through this process while keeping it feeling authentic.
Creating Lasting Memories
These cake cutting photos will grace your walls, albums, and anniversary posts for years to come. Taking a few extra minutes to ensure clean, beautiful shots is an investment in preserving one of your wedding day’s sweetest moments.
The effort you put into planning this seemingly small detail will pay dividends every time you look back at these images.
After all, your wedding cake represents the sweetness you’re bringing into your marriage—shouldn’t the photos capturing that moment be just as perfect?